Monday, July 22, 2013

My Mom's Gift to his grandson

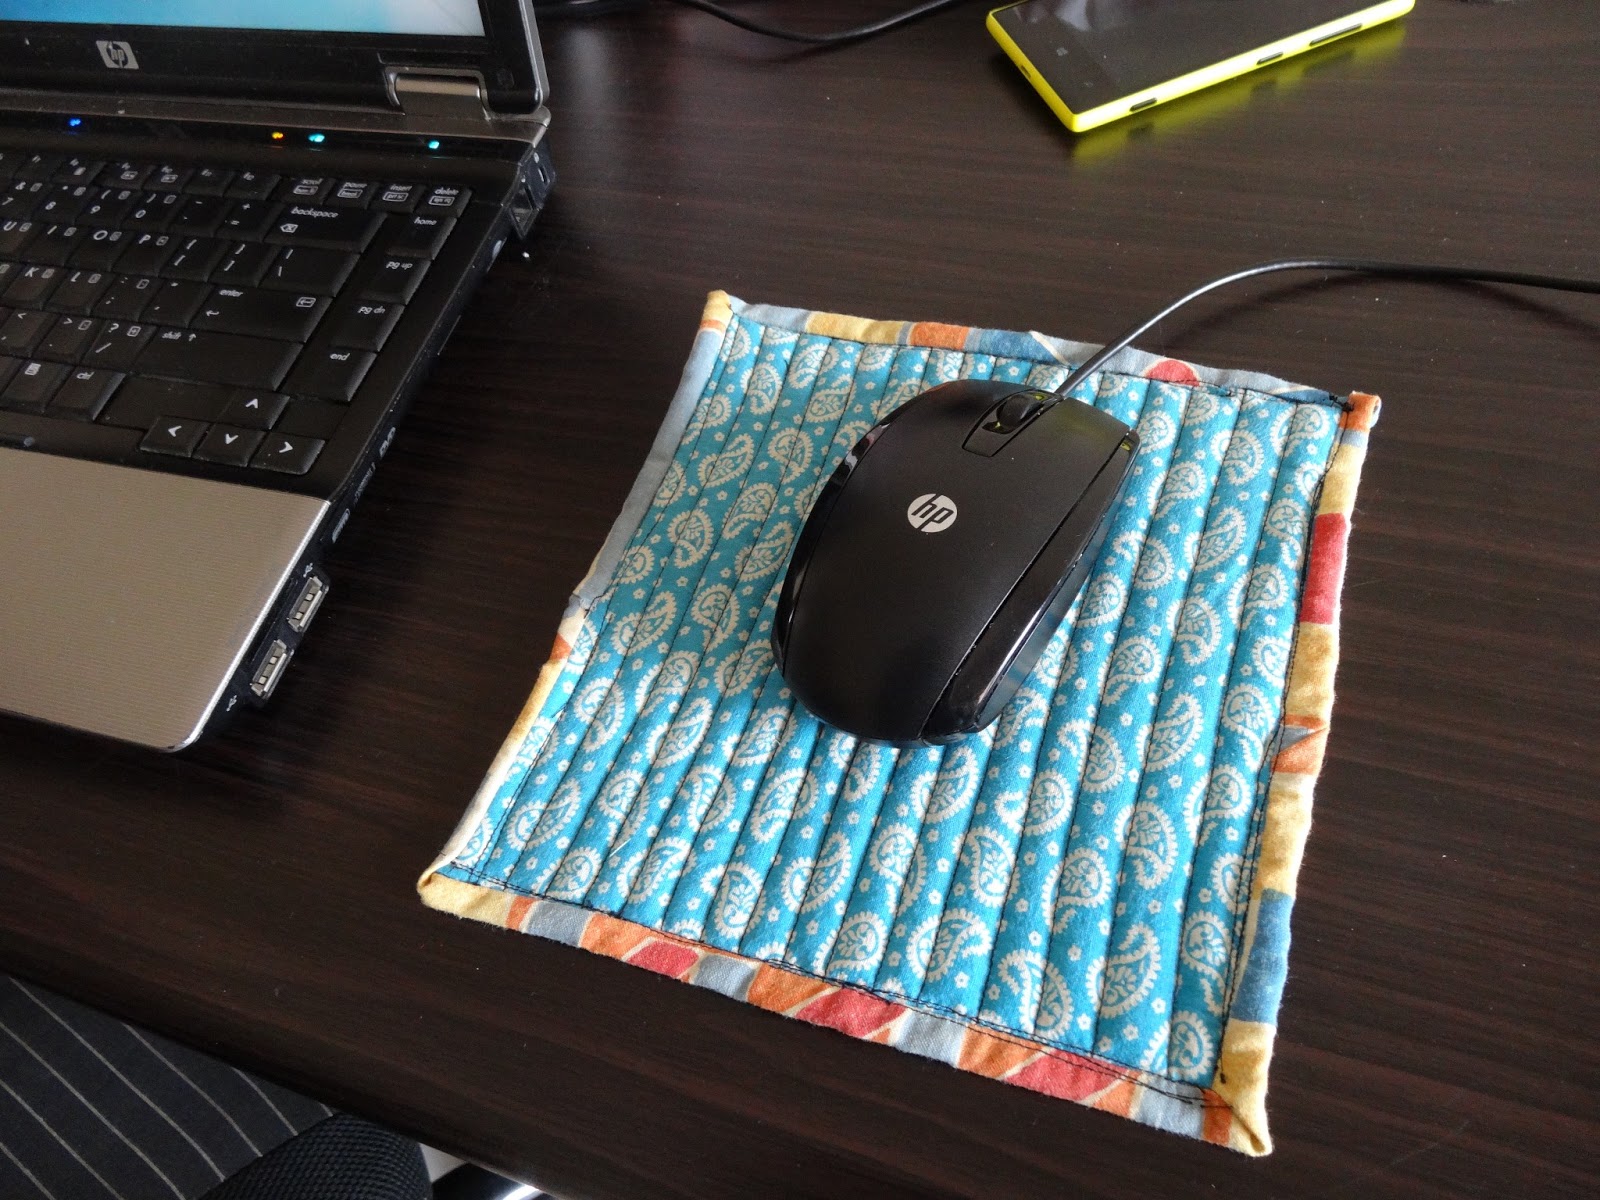
Mom loves Richu. That's so evident from the gift she gave Richu this time she visited us. A hand made quilt. She sew the entire quilt with her hand. No Machine. I just cant imagine to do something like that...coz I am so impatient.


My Mom has been the greatest inspiration ever. Even as a kid I remember she making these awesome things. From soft toys to wall hangings, nib painting, dresses and what not.There was always perfection associated with whatever she does. Fortunately I got like 10% of her talent I guess.
Someday I'll share with you some amazing things my mom has made.

Love u amma for the wonderful person you are. I am so blessed to have you.


Tuesday, July 16, 2013

Mouse Pad from fabric scraps

When you have fabric scraps lying around, the best way to make use of them if trying out things you have never done before. I did that today. I utilized it to try three things I have never done before - straight line quilting, free motion quilting and fabric painting.

So this is the first one.


Nice one right. But yes I know I have fallen back really bad on the binding end. Yes I need to master that.
Problem with that is it requires patience... ;)


Now onto the next one. This is the one where I tried my hand at fabric painting.


Tried some freemotion quilting. But this was a failure. I know it looks pathetic. So i started using it as a hot-pad.
\
Lesson 1: If you plan to make a mouse pad, go ahead with straight line quilting. Its smoother and more comfortable to use. Free motion quilted one was a no- no (Certified by dear hubby)

Lesson 2 : Be patient while doing the binding. :(

What have you been up to lately???
Happy Crafting !

Connect with me in FacebookBloglovinGooglePlus . Buttons are there in the right sidebar.

Tuesday, July 9, 2013

Gym Bag from Tshirt

My Husband has again decided to go to the Gym. I am keeping my finger crossed that he sticks to his plan this time around. All the other times he enthusiastically goes to the gym, pays loads to money (generally he opts only for 1 year memberships :( )....  and then NEVER GOES !!! I am sure the gym people adore him for that. Every year a mystery guys drops by their gym, pays for a year's membership and never comes back! Have you seen that cool guy ...hahhaaa....

Well so the other day we visited some gyms around our area. He particularly liked a gym very much. I haven't seen him so excited before. He packed his stuff into a plastic cover the day before itself. But then I noticed he was putting his stuff into a Plastic Cover. That's uncool isn't it !
So I decide to make a bag for him. I have never made anything for him before. So this was the perfect time to show some husband love.
I first asked for his opinion about the kind of bag he needs. Ran some searches in the internet. Surfed through pinterest. Finally stumbled upon something pretty.
It was a simple drawstring bag made by Amanda. Check out the tutorial here . It was a smaller version. I made a bigger version and again I decided to cut open one of his T-shirts to get the job done ! :)

I loved one particular TShirt. It had a nice color. So decided to go ahead with it and here is the final product.

Tshirt Gym Bag

Isnt it nice. And the best part is it was sooo easy to make. It took less than half an hour to get the job done.
And when you are using a Tshirt you can do away with measuring and cutting fabric.

Gym bag DIY

I took these pics just before he was hopping off to office.... And the funny part is he didn't go to the gym that day too !! I hope my effort doesn't go wasted... :(

Gym bag from Tshirt

That small label u see in the middle is something i nicked from another Tshirt :)

DIY Gym bag

I love the simplicity of the whole project. Small ties at the bottom to hold the cords together.

Drop a comment as to what you think.
Connect via facebook, blogolvin ,googlePlus or get new posts in your inbox. Buttons are in the right sidebar.

Thursday, July 4, 2013

When a boring stool gets a splash to color

A boring stool gets a makeover. Once upon a time it was a boring plastic stool. It got some fresh fabric and some bright yellow paint and here's how it looks...


I have been wanting to paint some thing for sometime now... this stool sat in a corner and stared at me ...and I decided it was time. Painted it yesterday night. Stuck some fabric carefully on top. Mod podged it again on top to give it a glossy feel.
 Richu loved it...as soon as he got up in the morning...he saw the chair. He stated giggling and hasn't let go of the stool since then :)


The before Pic...

During...


Finallyy...
The Beautiful Before After Pic...


What do you think... do u like it??
Love it ?? Hate it... leave a comment.

Connect with me in Facebook, Bloglovin, GooglePlus . Buttons are there in the right sidebar.
Take care !

Sharing in the linkyparty:


Tuesday, July 2, 2013

Sewing Machine cover with applique

Hi All... I just finished my first ever applique... I know there are certain problems with it... but yet i am happy.
I sewed a sewing machine cover...nothing fancy... just a small piece of cloth hemmed at the edges. A slit at the top to allow entry for the tread spool. and just 2 quick stiches at the top corners for a boxy look.
This is how it turned up...

Basically the cover was just an excuse to try out an applique...


But I guess my son had a better idea :)


Dont forget to leave u lovely comments and stay connected through social media.
You can find the button in the right side bar .

Have you seen my other sewing cover which I made using a pillow cover. Check it out here.


Sunday, June 9, 2013

Fabric Covered Storage Boxes

I have a great affliction to cardboard boxes. I just cant throw them out. Whenever I buy something that comes with a box, or someone gifts me something in a box... It somehow the most difficult thing for me to thrash them. You know why??
It coz I imagine those not so pretty boxes getting covered with some lovely fabric and transforming itself into a beaaauuutiful box.
For instance I just covered up the box that came with my iron and look at the result.
DIY Fabric covered boxes
Closer Look...

DIY_Storage_box.jpg

Holds all the junk that accumulates on the table...

Fabric_Covered_Storage_Box.jpg

 Isn't it so much more nice...

Easy_Storage_Box.jpg

Sits nicely in a corner of my table.
I made a bigger one too to hold all my electronic stuffs...from webcams, PlayStation accessories, cds and a million other things ... :) Its nicely tucked away under one of my side tables.

Handmade_boxes.jpg


Remember the box behind the pink one... Yes I had a tutorial for that here.
But I did these in a much simpler way.
Didn't bother to pull apart the box... just applied glue on the box and stuck the fabric...

Ok now for the detailed steps.
1) Iron the Fabric
2) Remove the side flaps of the box or all the flaps
3) Mix Equal portions of glue and water
4) Apply the glue using a brush on the box.
5) Place the fabric on the box and smooth-en out with your hands as u go..
Don't bother to hurry thinking the glue might dry... since the glue is watered down it wont be as sticky as it normally would.
Ok now u can ask why did u add glue with water???
If you are using ModPodge or Fevicol, then you need to add water because these are kind of the denser kind of glue. Since we are just sticking fabric which is not so thick we'll not need such strong and dense glue
After an hour or two, the glue will be dry. Now apply a finishing coat of glue over the box. It gives a glossy finish to the box.
6) Finally make a hand written label (Like I did) or just print out the label if you need a more professional finish :)
You are done !

Saturday, April 20, 2013

Upholster a chair


Helllo Guys... I had a wonderful week ... I just finished accomplishing something that I have been wanting to do for a long time. Yes... I re-upholstered all of my dining chairs !!! I am sooo glad with the outcome.


 The before and after pics makes me happy every time I look at it :)


Ohh... loook at them... I just love they way they turned out !


 Perfect for my cute little table


Upholstering might seem a daunting task at first. But trust me...its one of the simplest project I have done... of course excluding the hunt for the perfect fabric and good foam for the cushion :) Thanks to my husband... He was so supportive. We kind of roamed around so many places in hunt of good fabric and foam.
But really reupholstering dining chairs are so simple. Read through the tutorial below and you'll see how easy it is... So dont think of giving away those old chairs you have.... do some magic on them and they are as good as new.
So lets get started !
First gather your supplies !


1) First you need a chair that desperately needs a makeover :)
2) Upholstery fabric
3) Cushion Foam - there are different densities of foam available. Choose foam that has higher density coz u'll be using your chairs very often right. I brought a 40 density foam sheet from sleepwell. It has a 10 yr warranty and stuff . It was a little pricey though. You don't have to invest on a full sheet if u intend to do only cushions for your chairs. You can also get it custom cut according to you requirements and costs much less.
4) Staple Gun - Oh this piece of item is magical. Using it is so nice. The guys will particularly like this. My husband was so excited to use this. I got mine from Staples.
5) Glue &
6) Scissors 

Once you have all you supplies in place, The first step would be to rip out you old chairs cusion from the seat. Some seats might be screwed to the chair. So remove it carefully and then cut out the fabric and remove the old cushion.

So now that you have the base, Lets cut the foam.
There is very effective trick on cutting foam or themocol in perfect shapes.

The Trick !!
To Perfectly cut your foam, simply heat the kitchen Knife and make the cut. Move the hot knife slowly and cut. Heat as soon as the knife cools down.


Next apply glue on the plywood or wood on which the old cushion was there.


Place the cut foam on it. Align properly. Leave it for and hour to dry (I skipped this step though !! was too excited to get started heheee...)


Next bring out you fabric. Place your cushion on top of it. Leave some fabric around it. So that you cna wrap the fabric onto the plywood and staple.


Next place the foam right in the center of the fabric. Pull each side towards the plywood. Apply stape right on the center for all the 4 sides. Remember to pull you fabric real tight. This is to avoid bunching of fabric.


Pull the fabric tightly


Staple the center of each side


Now start stapling from the center towards the sides. Don't staple all the way to the corners. Leave some space at the corners.

Once done. Cut out some excess fabric at the corners.

Fold the corners. Hold Tight . Staple !


 Done !!


Place the cushion on the chair. and screw in place ...

That's it. I told u it is simple ! :)

For the next few days appreciate yourself for the good work ! :)


Follow my blog with Bloglovin
Related Posts Plugin for WordPress, Blogger...